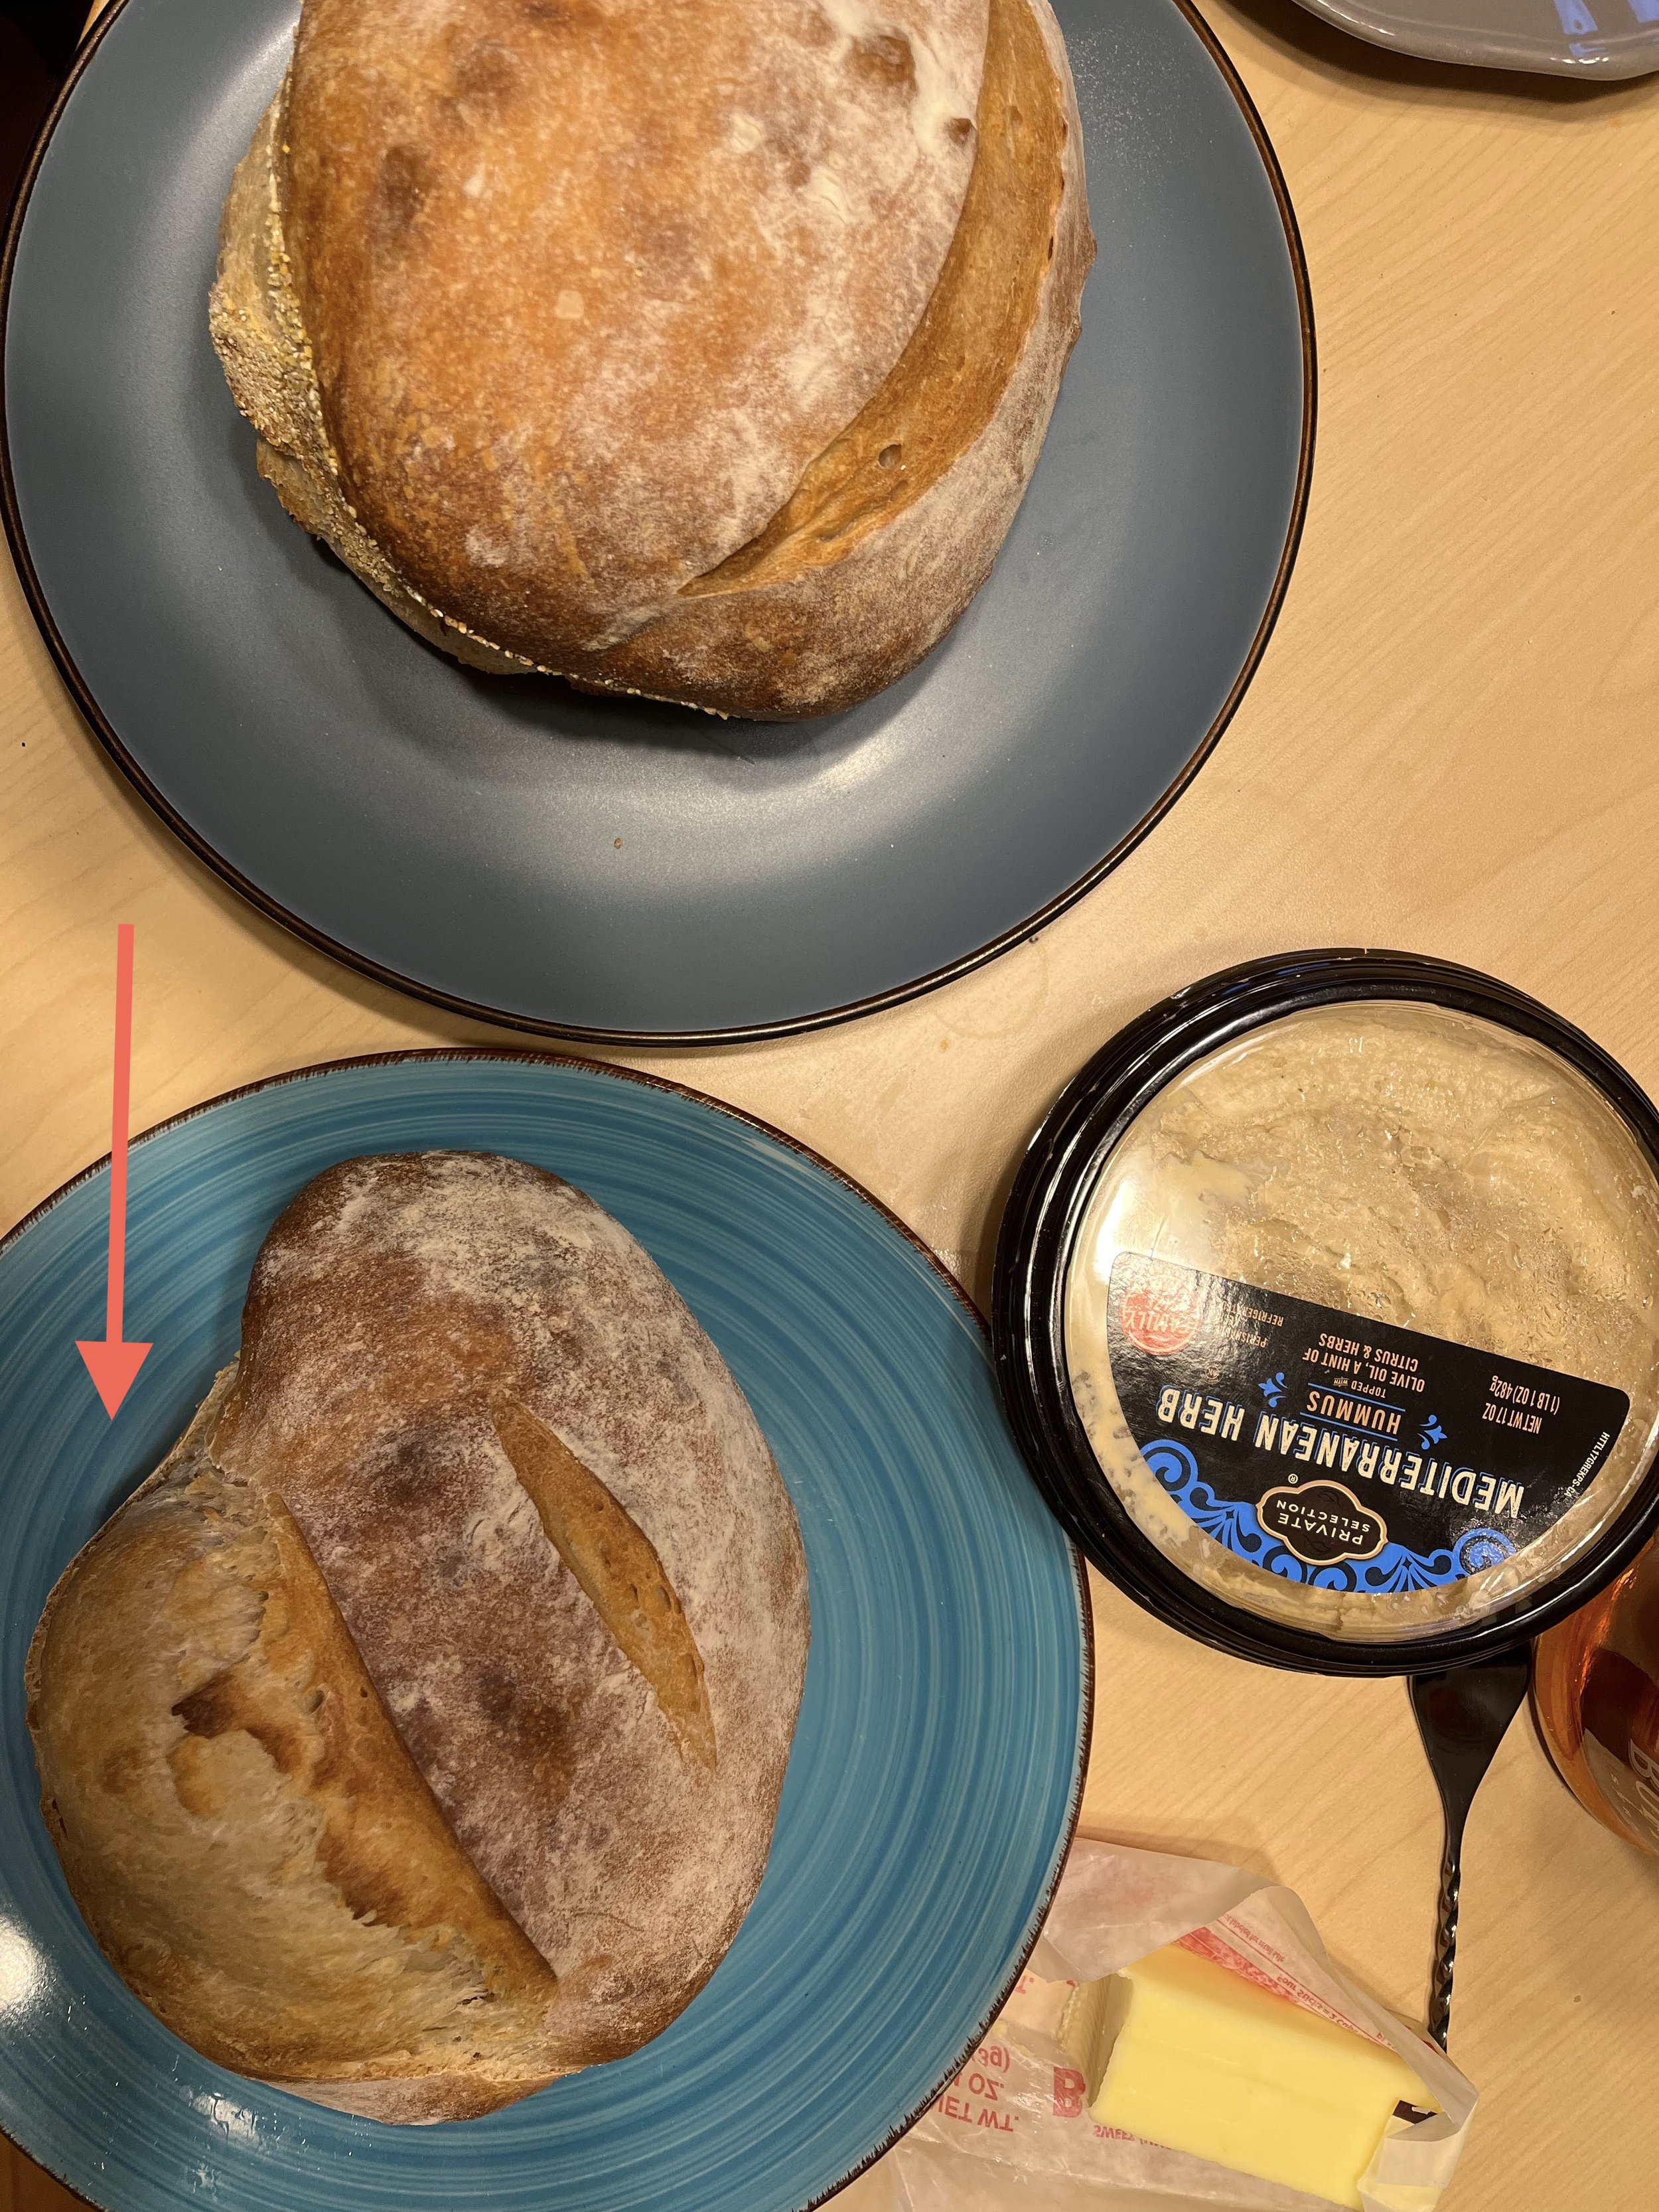
Sourdough: All Shapes and Sizes
Oct. 12 | 7 minute read

For starters, what is scoring? Scoring is essentially just slashing to the top of your loaf. This applies mainly to sourdough bread, or any loaf that has a crusty exterior but airy and expandable interior. Scoring is usually done with a French tool called a lame (pronounced “lahm”). The Lame you all have probably seen me use in my videos looks like:

Although it’s not necessary to own a lame, I highly encourage it because lame’s make scoring (an already difficult process) easier and more efficient. Otherwise, you can totally use kitchen scissors or a very sharp knife.
The purpose behind scoring your bread is to give the loaf a predictable place to expand when it’s in the oven. If you don’t score your bread, there are two things that can happen. First, the bread could (and most likely will) lose out on a lot of what is called “oven spring”. Oven spring is essentially the final burst of rising just after a loaf is put in the oven and before the crust hardens. When the dough hits the hot oven, it can puff up to as much as a third of its size in a matter of a few minutes!
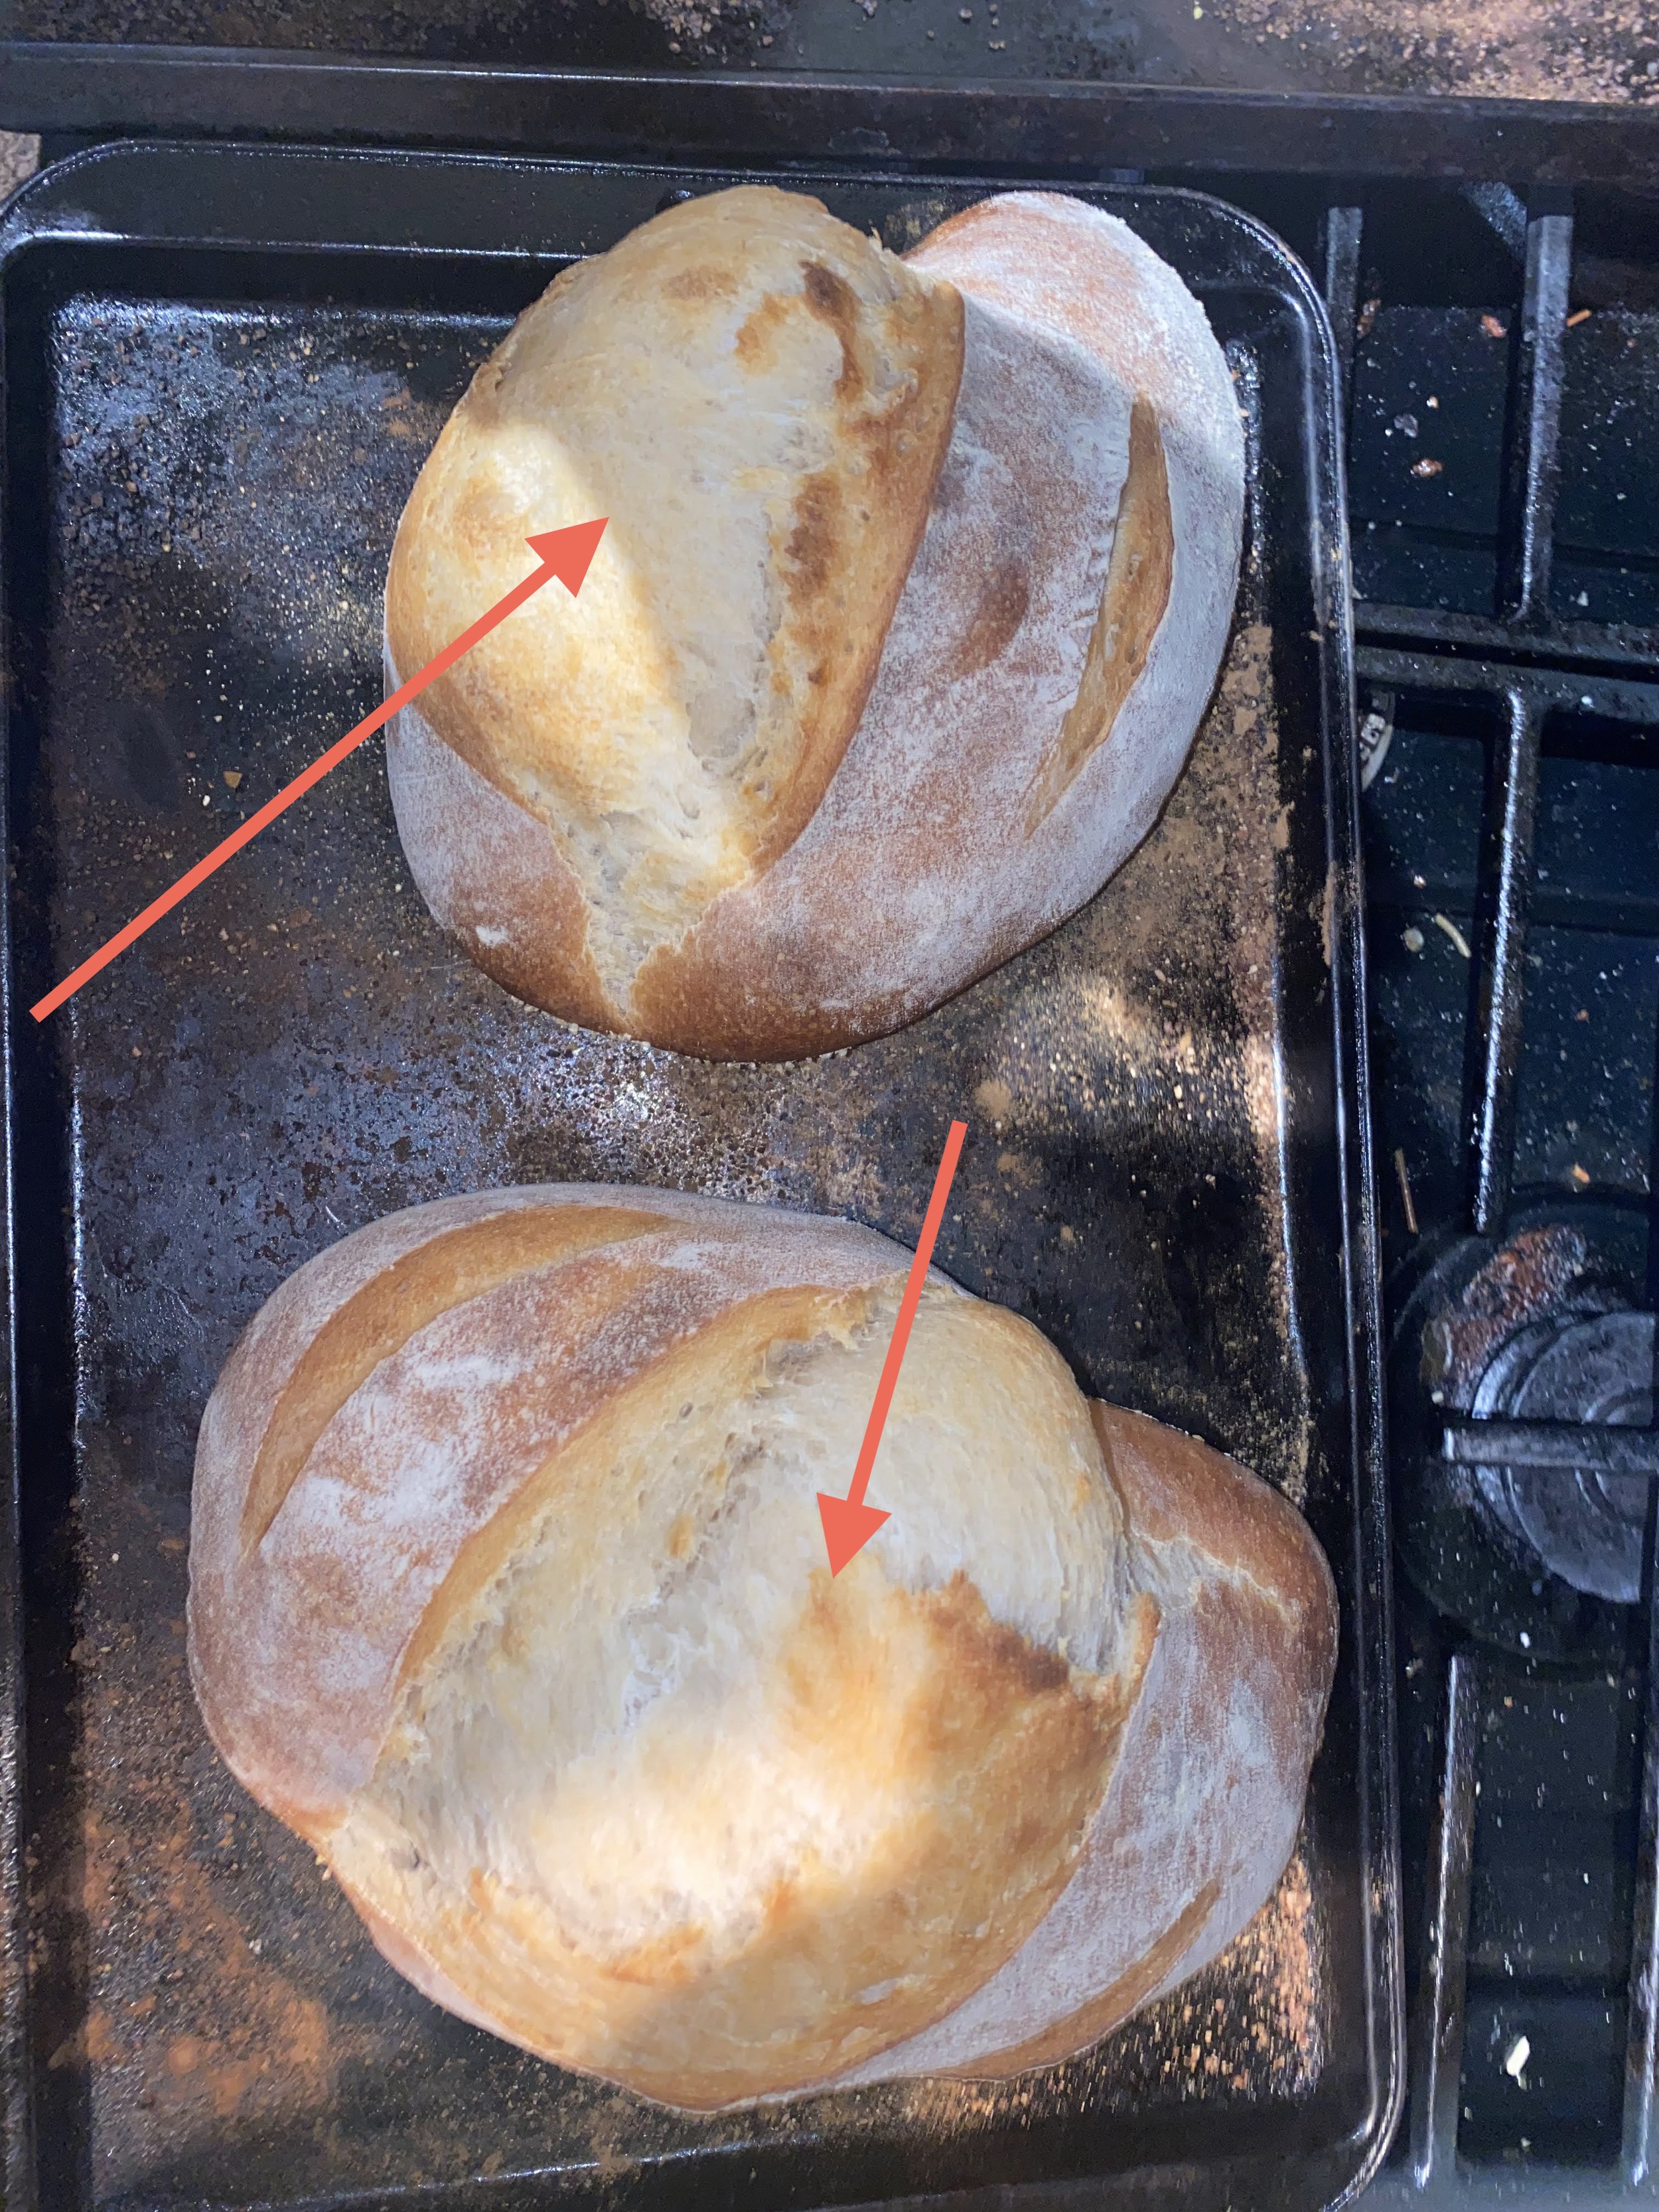
The second problem with unscored bread is that without that predictable spot to expand and let out all of the built up gases, the loaf could “explode” anywhere. Meaning, instead of the loaf releasing the gases through the slit you just made, the gases could erupt on the side, either end, or anywhere in between causing the bread to look like it has a big lump. This happened to me for a couple loaves and I couldn’t figure out why it was happening despite scoring the bread. To be honest, I still don’t completely understand why that used to happen to me and then stopped. It’s possible that I wasn’t scoring deep enough or making enough slices for the amount of gases that had built up. But here are some images of what an “explosion” can look like
It’s very important right after you slice open the bread to put it immediately in the oven. This is because exposing the interior of the bread starts to release all of the bubbles that were built up throughout the sourdough making process. If you don’t you will lose out on oven spring and the loaf won’t rise as much.
Something that goes hand in hand with oven spring is cooking with steam. I’ve also mentioned in some of my videos how I use a Dutch oven to cook my sourdough. Usually, the Dutch oven gets placed into the 500 degree Farenheit oven over 45 minutes before you actually bake the bread so that it has time to warm up entirely. The Dutch oven then provides steam throughout the first portion of baking the sourdough. Steam is important because the loaf needs to be able to expand and stretch (aka oven spring) before hardening off. Steam in the oven and subsequently on the surface of your loaves helps keep that skin pliable and stretchy during baking. After about 15-18 minutes, I take the top off the dutch oven to let the loaf’s crust harden and gain color. At this point, your loaf has reached its maximum oven spring and won’t grow anymore. Instead, now the dough’s crust can harden and form a nice deep brown color.
Scoring takes lots of practice and is something that I still haven’t mastered completely. It takes lots of practice to get a feel for the technique. The usual tips are to slice fast without making jagged edges by the lame getting cut on the dough. Also, you’ll want to slice at around a 45 degree angle and between ¼ and ½ inch deep. I would highly recommend watching videos to understand the technique and see it first hand before scoring your dough. Although it’s necessary, the style in which you do score is totally up to the baker. I will go through some examples of my most recent “score and tell” designs below!
First up, is my cacao powder starter shaped into a round, before and after baking:


You can tell that this used a different starter than a plain white flour based starter because it is darker in nature. Additionally, I score this using a technique called an “ear”. The idea is that the flap created from the curved slash down the middle, after baking, looks like an ear. If I were to score this again, to make it more like an ear, I would place the slash more in the middle, rather than as far to the right and slice slightly deeper, maybe striking multiple times down the same path.
Next up is the pumpkin shaped loaf with a plain starter:


This scoring technique I did previously, I basically just repeated a leaf pattern in each of the pumpkin sections. This time, however, I accidentally set the dough down too hard on top of the yarn and it released some gases, thus not rising as much and scoring as cleanly. This goes to show how gentle you have to be with the dough. So next time I would hope the scores would be cleaner and show up better after being baked.
Lastly, I scored batard shaped loaf using a plain starter:


This scoring technique combines the two from above: an ear on the right and then the leaf pattern repeated three times on the left. A common theme throughout all these scores is they weren’t quite deep enough so they didn’t show up too well when baked.
I hope you all enjoyed reading along and found some of this helpful for the next time you bake sourdough! As always, reach out to me if you have any Bread questions and I will do my best to answer!